Let’s get to it, shall We? This is not exactly a tutorial, but more of a log of what I’ve been doing in order to shove Ubuntu to my spanking, brand new Lenovo Y510p. First a couple of notes:
- I have the GT750 SLI version. This post only cover Saucy on 2 x GT750 setup, not Optimus
- Mine has an Atheros chip for LAN, and Broadcom BCM43142 for WLAN and bluetooth. Other version may have intel N 2230 or, if you’re lucky, a dual band Intel N 7260. My wireless was not working on the first boot and I had to resort get to the internet using ethernet cable. If your unit has the BCM chip, you might want to prepare an ethernet cable to troubleshoot after the first boot.
- I use UEFI instead of legacy
Preparations
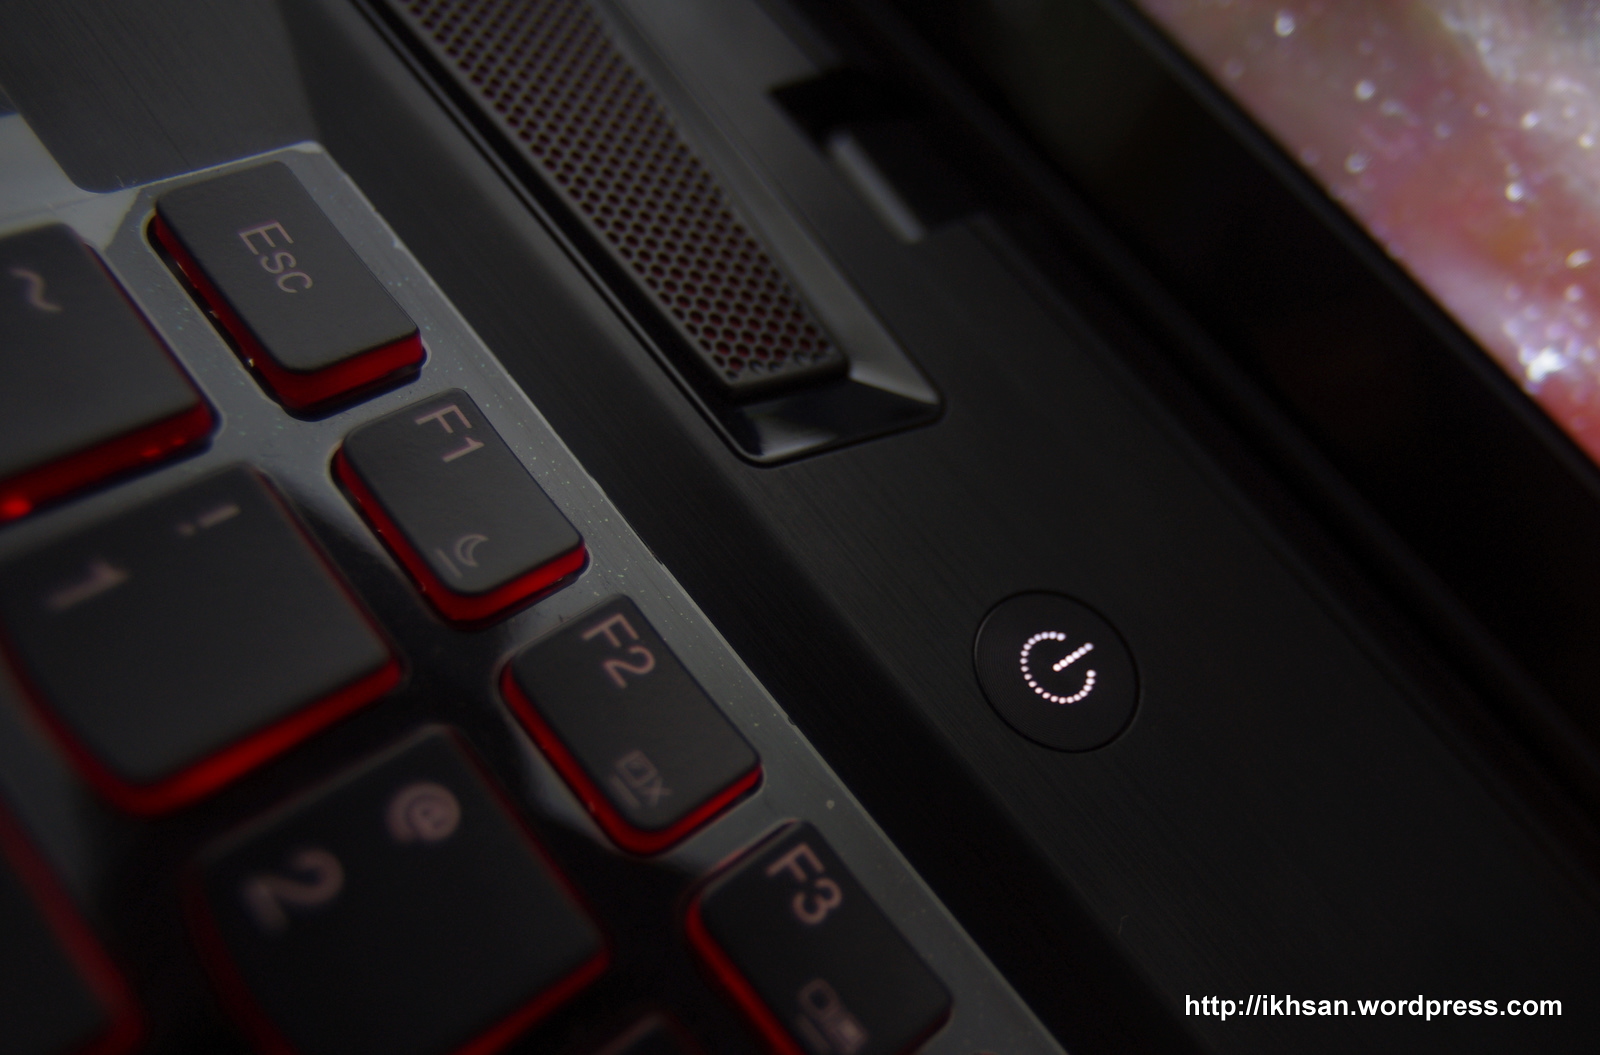
First thing first. As I’ve mentioned earlier, I decided to use UEFI instead of legacy. To do that, boot the Y510p to BIOS setup mode by turning the laptop on using the “Novo” button, located near the right hinge of the unit, right beside the power port.

From the menu, select “BIOS Setup”. On the BIOS, go to “Security” tab, and change “Secure boot” value to “Disabled”. Next, on the “Boot” tab, make sure “Boot mode” is set to “UEFI”. Save the change, and exit BIOS
Now, we need to prepare the disk partition that will contain the linux install. You can do this with Ubuntu Setup partition tool, or you can do this from Windows Disk Management tool. Take your pick.
Installation
Since the Ultrabay is populated by the second GT750 module, I opted to install Saucy from a thumb drive. To do this in UEFI, boot the laptop using the “Novo” button again, and this time, select “Boot Menu”. On the next screen, select “EFI USB Device (xxxxx xxxx)” to boot the laptop from the thumb drive.
Now, there are several thing that we need to notice regarding the booting process:
- The noveau driver for Nvidia isn’t working properly, so we need to add “nomodeset” on the kernel option. On the next screen, you’ll be presented a grub-like menu. Highlight the first option, and then press “e” to edit the grub entry. Find a line that start with “linux /boot/vmlinuz-xxx…” and add “nomodeset at the end of the line. Press Ctrl-X or press F10 to boot. You should now have the live CD image up and running with Unity
- Check whether your wireless adapter is working. If you have an intel chip, most likely it will be up and ready to use. If not, you may have the unit with broadcom chip, and the live CD session may have failed to load the proprietary driver module. To be sure, open a terminal window, and do this:
ikhsan@M5-X:~$ sudo lshw -C network
  *-network
       description: Ethernet interface
       product: QCA8171 Gigabit Ethernet
       vendor: Qualcomm Atheros
       physical id: 0
       bus info: pci@0000:09:00.0
       logical name: eth0
       version: 10
       serial: 28:d2:44:27:f9:2b
       capacity: 1Gbit/s
       width: 64 bits
       clock: 33MHz
       capabilities: pm pciexpress msi msix bus_master cap_list ethernet physical tp 10bt 10bt-fd 100bt 100bt-fd 1000bt-fd autonegotiation
       configuration: autonegotiation=on broadcast=yes driver=alx latency=0 link=no multicast=yes port=twisted pair
       resources: irq:49 memory:d5100000-d513ffff ioport:3000(size=128)
  *-network
       description: Wireless interface
       product: BCM43142 802.11b/g/n
       vendor: Broadcom Corporation
       physical id: 0
       bus info: pci@0000:0a:00.0
       logical name: eth1
       version: 01
       serial: 1c:3e:84:e5:ba:67
       width: 64 bits
       clock: 33MHz
       capabilities: pm msi pciexpress bus_master cap_list ethernet physical wireless
       configuration: broadcast=yes driver=wl0 driverversion=6.30.223.141 (r415941) ip=192.168.1.145 latency=0 multicast=yes wireless=IEEE 802.11abg
       resources: irq:16 memory:d5000000-d5007fff
-
- As you can see, my Y510p uses Broadcom wireless chip. I performed the install several times, and only 1 out of 3 that I get the wireless module loaded during live CD session.
- Since we’re using UEFI, the boot loader must be installed on the EFI partition. In my case this is /dev/sda2, and was formated as FAT32. On “Installation Type” I selected “Something Else ” and select “/dev/sda2” on “Device for boot loader installation” selection
I think that’s about all that we need to do during install. On to the first boot!
First Boot
If your laptop booted straight away to windows instead of showing GRUB, turn it off, boot it with the “novo” button, and select Boot menu. Select “Ubuntu” on the next screen, and you should have GRUB. On my first boot, I didn’t have GUI, and the wireless module was not working. Let’s short these one by one.
Wireless. If yours works, great, you can skip this part. If your installation somehow skipped the BCM kernel module, there are a couple of things that you can do. If you have internet over the ethernet cable, plug it in, and install these packages:
sudo apt-get install dkms If you can’t get to internet from your laptop, you can install these packages from the thumb drive.
Assuming that the thumb drive is mounted /media/usbdrive, dkms can be found and installed on
cd /media/usbdrive/pool/main/d/dkms dpkg -i bcmwl can be found and installed on
cd /media/usbdrive/pool/restricted/b/bcmwl dpkg -i When it’s done, load the driver with
sudo modprobe wlWireless should now be available, and you can use iwconfig or wpa-supplicant to connect to the wireless router. Please notice that my wireless adapter is named eth1 instead of wlan0
Desktop. If you just want desktop, adding nomodeset on grub is all you have to do. However, to get the most out of the GT750, we need to use Nvidia’s proprietary driver. There’s one available in Canonical repository, but we wouldn’t use that one, since it’s quite old. There are two PPAs that provide newer packages:
- xorg-edgers, and
- ubuntu-x
My recommendation is to use ubuntu-x instead of the edgers, since the edgers contain much, much bigger number of packages, and it’s a lot more complex dependencies.
Use the nomodeset trick on grub again to get to Unity. Add ubuntu-x to your collection of repository by doing
sudo add-apt-repository ppa:ubuntu-x-swat/x-updatesTo install Nvidia binary driver, perform:
sudo apt-get updatesudo apt-get installnvidia-331 nvidia-settings-331
Restart, and now you should have access to desktop with graphic acceleration.
Tidbits
So here’s a list of everything else that works and doesn’t
- HDMI output to external monitor is working, tested on my Samsung tv
- The Broadcom BCM43142 is WLAN and bluetooth combo adapter. The wireless part works,
the bluetooth doesn’t. It supposed to work 12.04, since some ubuntu certified laptops from Dell come with this.. thing. Bluetooth is now working, to some extent. It works on my bluetooth mice, but installing sixad for Dual Shock gamepad broke my system and I had to reinstall the whole bluetooth stack. Go here for further reading. - Hibernate behaves erratically. Sometimes it works, most of the times it doesn’t
- Brightness adjustment when switching to battery does not work. Adjusting brightness with Fn key combos also not working. As a workaround, I installed xbacklight, and set up keyboard shortcut
- Fn key functions for volume, switching wireless on and off, and app switching work.
- Both GT750 modules are detected as GPU0 and GPU1. I haven’t got the chance to test whether SLI is working or not.
Update 01/03/2014:
Bluetooth now works 😀 Since the explanation is quite long, I think it deserves a separate post. Go here
That’s about everything I guess 🙂

Have you managed to get the battery extra functions working? By that I mean the option to charge the battery only to a desired level (ie, 60% charge then continue to use AC without charging, to extend battery life).
Unfortunately no. The tp_smapi module is only compatible with the thinkpads
You can change battery charging limit in Energy Management under Windows… If you still have it there 🙂
[…] it from. For instance, one laptop that was on my shortlist was the Lenovo Ideapad y510p. I found one blog post that stated that it had a Broadcom wireless card that was problematic on Linux and to a lesser […]
What is your power consumption in powertop?… I barely drop bellow 18W… With lots of savings features enabled everywhere… I also cannot get readings on fan speed, always shows 0 RPM…
Out of the box, I’m currently on 20W, haven’t done any tweaking yet. With the onboard intel chip with bumblebee, I can get to 13W. Haven’t got to get the sensor to work properly yet 😀
Hey man, many thanks for your post. Both of my GPU’s are also detected. I was thinking, since in Windows 8 you have the option to disable the second GPU (gpu1) without physically removing it from the ultrabay and that way it won’t drain additional power, can you disable it in Ubuntu as well? I am using 14.04.1. 🙂
Unfortunately, I haven’t got a clue on how to do this. Currently I’m using a single GT750 setup with optimus, since I still can’t get SLI to work on my unit
Yeah, I know the feeling. Seems like we’ll just have to wait.
I know this post is a bit old, but I was wondering if you ever got to test the SLI on this machine. Does it work properly and get similar performance to Windows?
Hi,
Nvidia explicitly states in their docs that SLI for notebooks is currently not supported on linux:(
Thank you for the reply! It’s too bad that it doesn’t work, but I guess I’ll settle for just using one of the 750’s when on Linux.
Yeah. I’m currently on a bumblebee setup, and the second graphic adapter slot is hosting a 240GB SSD for OS and apps 😀
Hei Hello Dear friend, how are you? A long time ago this very helpful guide helped me to be happy with my linux ubuntu distro from my Y510p Lenovo. Today I need to install back my Windows 8 imagine, but I deleted it. I would like to ask you if I can provide you a spece ftp to upload your recovery images for windows 8. Please can some very good mind help me in this task. I would appreciate the help of everyone.
Thanks.
Marco
Hi Marco,
Unfortunately I have upgraded my Win8 install to Win8.1, and it broke my recovery image, so I’m currently without Win8 backup image