Update September 22nd 2019:
It seems that traefik has recently updated their docker registry, in such that when you do pull request will get you traefik version 2.0 by default instead the previous stable version 1.7.xx. Since the article below uses configuration that is applicable for 1.7.x, I have made some update to all pull request in this article to use v1.7.16 to ensure that commands or scripts contained in this article will still work. Check Traefik’s docker page to see the latest version for 1.7.xx branch
As I have previously mentioned, the wordpress installation that is hosting my blog right now runs on top docker, with traefik handing TLS as usual. I did promise that I will detail out what I did for this. As it happen, a new version of WordPress came out recently, along with new image for WordPress docker container. Thus I take this opportunity to flesh out what I did. The config is fairly straightforward
Prereqs
We can start by installing docker. On all nodes which we’ll put into the swarm, do:
surfer@DM1:~$ sudo apt install docker docker.io
Then, create local directory mount points as persistent storage for MySQL, WordPress, and Traefik.
surfer@DM1:~$ sudo mkdir /app
surfer@DM1:~$ sudo mkdir /app/journal
Do the same for each node that you’ll put into the swarm. Next, the SSL certificate for your domain. While traefik has built-in Let’s Encrypt integration, I decided to deploy the SSL certificate with a more generic method of obtaining certificate with certbot, thus this write-up can be used if you source your SSL certificate in a different way. Go here for a complete guide on obtaining Let’s Encrypt’s SSL certificate with certbot. Copy both the certificate and key to the directory that we have prepared, in my case this would be /app/journal/traefik/certs
surfer@DM1:~$ ls -la /app/journal/traefik/certs/
total 16
drwxr-xr-x 2 root root 4096 Jul 7 09:49 .
drwxr-xr-x 4 root root 4096 Jul 7 09:49 ..
-rw-r--r-- 1 root root 1923 Jul 7 09:54 cert.pem
-rw------- 1 root root 1708 Jul 7 09:54 privkey.pem
Now that everything is in place, let’s start with the first component of our deployment, which are…
Docker & Docker Swarm
I’ve detailed the instruction on setting up a docker swarm here. We can expand our WordPress installation to multiple hosts if we want to. Once our Docker Swarm is up and running, we can start deploying our docker network
surfer@DM1:~$ sudo docker network create --driver=overlay web
xdyg9whk3nmsjhtx95i52b7sj
We are now ready to deploy the first container for our setup
MySQL
For this setup, I’ll be running a single MySQL container and we’ll be constraining that particular container to a single member node of the swarm. Add a label to the swarm node that we’ll be giving the role to host our MySQL database by doing
surfer@DM1:~$ sudo docker node update --label-add role=dbnode DM2
…And create the corresponding local directory mount points as persistent storage for MySQL
surfer@DM2:~$ sudo mkdir /app
surfer@DM2:~$ sudo mkdir /app/journal
surfer@DM2:~$ sudo mkdir /app/journal/mysql
surfer@DM2:~$ sudo mkdir /app/journal/mysql/data
Create the MySQL docker service by running
sudo docker service create --name db --network web --constraint node.labels.role==dbnode --publish 3306:3306 --mount type=bind,source=/app/journal/mysql/data/,target=/var/lib/mysql --env="MYSQL_ROOT_PASSWORD=yourpasswordhere" mysql
Depends on what you want to do, you can ommit “–publish 3306:3306” if you don’t want to connect to the database from outside of the container. The MySQL node should now be up and running, and anything that is residing in the docker network “web” can access it through port 3306. The “–constraint node.labels.role==dbnode” ensure that MySQL container will only be spawned in node DM2, where the local directory for persistent storage is configured. Lastly, take note on the service name that we have configured for the service. In this case, it’s “db”
What’s left to do is to create an empty database for WordPress. If you expose port 3306, you can use mysql client installed on the node to connect to the server, using the root password that we have configured before. Otherwise, get the name of the container that runs MySQL:
surfer@DM2:~$ sudo docker ps
CONTAINER ID        IMAGE               COMMAND                  CREATED             STATUS              PORTS                 NAMES
14927c6fc52a        mysql:latest        "docker-entrypoint.s…"   4 hours ago         Up 4 hours          3306/tcp              wpdb.1.8rzfzy41icbe5nt64z4qbt5jj
and connect to the database container with root credential
surfer@DM2:~$ sudo docker exec -it 14927c6fc52a mysql -p
Create a new database for WordPress
mysql> create database wpdb;
Query OK, 1 row affected (0.01 sec)
Create a user and grant it access to the database we’ve just created.
mysql> create user 'wpuser'@'%' identified with mysql_native_password by 'prettysecurepassword';
Query OK, 0 rows affected (0.01 sec)

mysql> grant all privileges on wpdb.* to wpuser;
Query OK, 0 rows affected (0.01 sec)

mysql> flush privileges;
Query OK, 0 rows affected (0.00 sec)
Our MySQL node should now be ready for our WordPress deployment.
WordPress
This is how I prepare the local directories for my WordPress install:
surfer@DM1:~$ sudo mkdir /app/journal/wp
surfer@DM1:~$ sudo mkdir /app/journal/wp/wp-content
surfer@DM1:~$ sudo mkdir /app/journal/wp/apachelogs
..And this is how my WordPress docker service is established
surfer@DM1:~$ sudo docker service create --name app --network web --label traefik.enable=true --label traefik.backend=app --label traefik.port=80 --label traefik.frontend.rule=Host:journal.mach5.web.id --label traefik.frontend.headers.STSSeconds=315360000 --label traefik.frontend.headers.SSLRedirect=true --label traefik.frontend.headers.forceSTSHeader=false --label traefik.frontend.headers.STSPreload=true --label traefik.frontend.headers.frameDeny=true --label traefik.frontend.headers.STSIncludeSubdomains=true --label traefik.frontend.headers.browserXSSFilter=true --label traefik.frontend.headers.contentTypeNosniff=true --label traefik.backend.loadbalancer.stickiness=true --mount type=bind,source=/app/journal/wp/wp-content,target=/var/www/html/wp-content --mount type=bind,source=/app/journal/wp/apachelogs,target=/var/log/apache2 --env="WORDPRESS_DB_HOST=db" --env="WORDPRESS_DB_NAME=wpdb" --env="WORDPRESS_DB_USER=wpuser" --env="WORDPRESS_DB_PASSWORD=prettysecurepassword" wordpress
Please take a note on “–label traefik.enable=true”, which will flag the Docker service swarm for loadbalancing by Traefik and “–label traefik.backend=app”, as this would be the name of Docker service that Traefik will forward incoming traffic to. Next is “–label traefik.backend.loadbalancer.stickiness=true” which will configure sticky session for incoming traffic. The next important part is connecting the WordPress container to the database node that we have prepared which is done through configuring a couple of environmet variables, as shown on the line above:
--env="WORDPRESS_DB_HOST=db" --env="WORDPRESS_DB_NAME=wpdb" --env="WORDPRESS_DB_USER=wpuser" --env="WORDPRESS_DB_PASSWORD=prettysecurepassword"
Make sure all the value of these variables are set accordingly, where “db”, “wpdb”, and “wpuser” are the name of the Docker service we configured earlier for MySQL, the database we created, and the database user that we’ll be using for our WordPress deployment, respectivey.
Lastly, as you can see, I’m adding a bunch of traefik “frontend.headers” labels to the service. These are HTTP Security Headers, and more information about them can be read here. WordPress should be now up and running.
surfer@DM1:~$ sudo docker ps
[sudo] password for surfer:
CONTAINER ID        IMAGE               COMMAND                  CREATED             STATUS              PORTS                 NAMES
ffd59c38e0b3        wordpress:latest    "docker-entrypoint.s…"   3 hours ago         Up 3 hours          80/tcp                wpapp.1.36gmt7xt8s23i5vbaqoub5thq
The local directory that we have configured as persistent storage should have now been populated:
surfer@DM1:~$ ls -la /app/journal/wp/wp-content/
total 28
drwxr-xr-x  6 root     root     4096 Sep  8 07:51 .
drwxr-xr-x  8 root     root     4096 Sep  8 07:51 ..
-rw-r--r--  1 www-data www-data   28 Jan  8  2012 index.php
drwxr-xr-x  9 root     root     4096 Sep  8 07:51 plugins
drwxr-xr-x 12 root     root     4096 Sep  8 07:51 themes
drwxr-xr-x  2 root     root     4096 Sep  7 03:45 upgrade
drwxr-xr-x 15 root     root     4096 Sep  7 03:45 uploads
…and
total 24
drwxr-xr-x 2 root root  4096 Sep  8 07:51 .
drwxr-xr-x 8 root root  4096 Sep  8 07:51 ..
-rw-r--r-- 1 root root 10226 Sep  8 07:55 access.log
-rw-r--r-- 1 root root   421 Sep  8 07:51 error.log
-rw-r--r-- 1 root root     0 Sep  8 07:51 other_vhosts_access.log
Now, to the final piece of our deployment
Traefik
I’m putting the traefik.toml configuration file, as well as SSL certificate and key on local directories.
surfer@DM1:~$ sudo mkdir /app/journal/traefik
surfer@DM1:~$ sudo mkdir /app/journal/traefik/conf
surfer@DM1:~$ sudo mkdir /app/journal/traefik/certs
Copy both the certificate and key files, provided by certbot to /app/journal/traefik/certs.
We’ll be creating a .htpasswd for Traefik’s dashboard, you can generate one here, and put it in the /app/journal/traefik/conf directory. The last thing we’ll creating for we fire up the service is Traefik config file. Do
surfer@DM1:~$ sudo nano /app/journal/traefik/conf/traefik.toml
This is how mine look:
logLevel = "DEBUG"
defaultEntryPoints = ["http", "https"]

# WEB interface of Traefik - it will show web page with overview of frontend and backend configurations
[web]
address = ":8080"
certFile="/certs/fullchain.pem"
keyFile="/certs/privkey.pem"
[web.auth.basic]
usersFile="/conf/.htpasswd"
# Connection to docker host system (docker.sock)
[docker]
swarmmode = true
domain = "journal.mach5.web.id"
watch = true
# This will hide all docker containers that don't have explicitly
# set label to "enable"
exposedbydefault = false

[frontends]
 [frontends.app]
 backend = "app"
   [frontends.app.ratelimit]
   extractorfunc = "client.ip"
     [frontends.wpapp.ratelimit.rateset.base]
       period = "10s"
       average = 100
       burst = 200
   [frontends.app.routes.journal]
   rule = "Host:journal.mach5.web.id"

[entryPoints]
  [entryPoints.http]
  address = ":80"
    [entryPoints.http.redirect]
    entryPoint = "https"
  [entryPoints.https]
  address = ":443"
  compress = true
    [entryPoints.https.tls]
    minVersion = "VersionTLS12"
    cipherSuites = [
      "TLS_ECDHE_RSA_WITH_AES_128_GCM_SHA256",
      "TLS_RSA_WITH_AES_256_GCM_SHA384"
    ]
      [[entryPoints.https.tls.certificates]]
      certFile = "/certs/fullchain.pem"
      keyFile = "/certs/privkey.pem"
Go here for a somewhat more thorough walkthrough on a traefik.toml file. As you can see, we’ll be mapping “/app/journal/traefik/conf” to “/conf” and “/app/journal/traefik/certs” to “/certs”. Now we can start the Traefik service by running
surfer@DM1:~$ sudo docker service create --name traefik --constraint=node.role==manager --publish 443:443 --publish 8080:8080 --mount type=bind,source=/var/run/docker.sock,target=/var/run/docker.sock --mount type=bind,source=/app/journal/traefik/conf/traefik.toml,target=/traefik.toml --mount type=bind,source=/app/journal/traefik/conf/.htpasswd,target=/conf/.htpasswd --mount type=bind,source=/app/journal/traefik/certs/,target=/certs --network web traefik:v1.7.16
If there’s no issue, we should have Traefik running:
surfer@DM1:~$ sudo docker ps
CONTAINER ID        IMAGE               COMMAND                  CREATED             STATUS              PORTS                 NAMES
cf7975350b77        traefik:latest      "/traefik"               2 hours ago         Up 2 hours          80/tcp                traefik.1.wram0hp541k4w7ijd6dmojsdi
20834197a82e        wordpress:latest    "docker-entrypoint.s…"   3 hours ago         Up 3 hours          80/tcp                wpapp.1.9ghq6h1k7wfszpsa7tf10dt82
WordPress installer should now be accessible at https://mach5.web.id/wp-admin/install.php
Updating WordPress
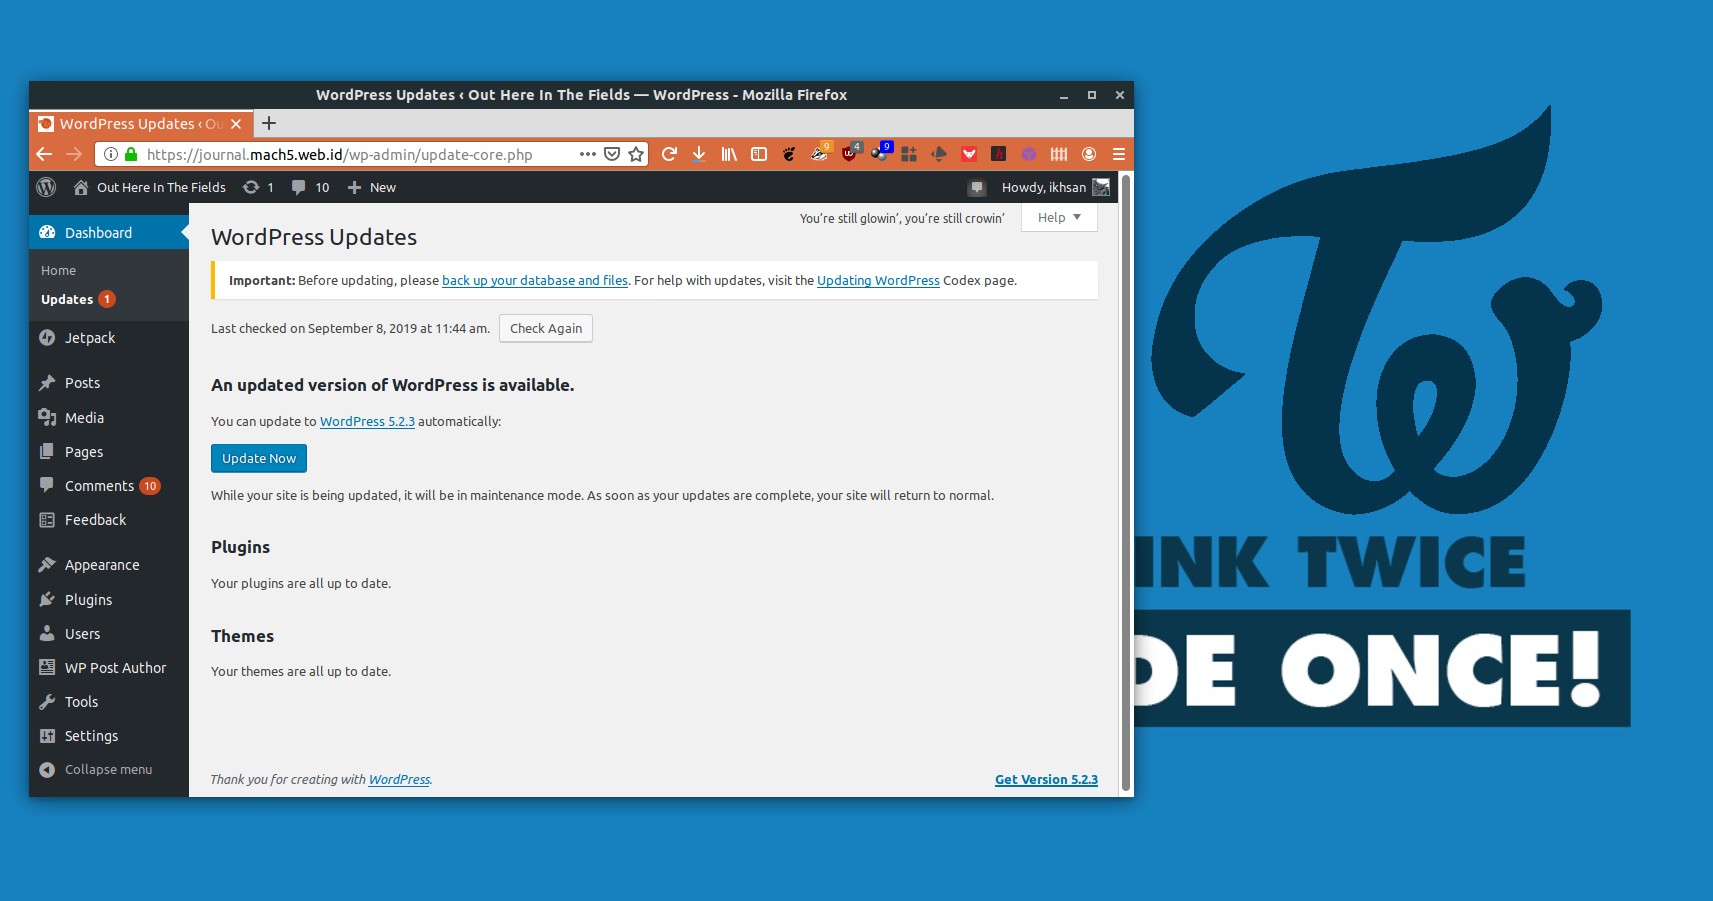
When a new version of WordPress is released, you will receive a notification such as this

An up to date docker image should be available, and you can update your deployment by doing
surfer@DM1:~$ sudo docker service update --image wordpress:latest wpapp
wpapp
overall progress: 1 out of 1 tasks
1/1: running   [==================================================>]
verify: Service converged
If we check our WordPress dashboard, it should now informs us that we have the most recent one
